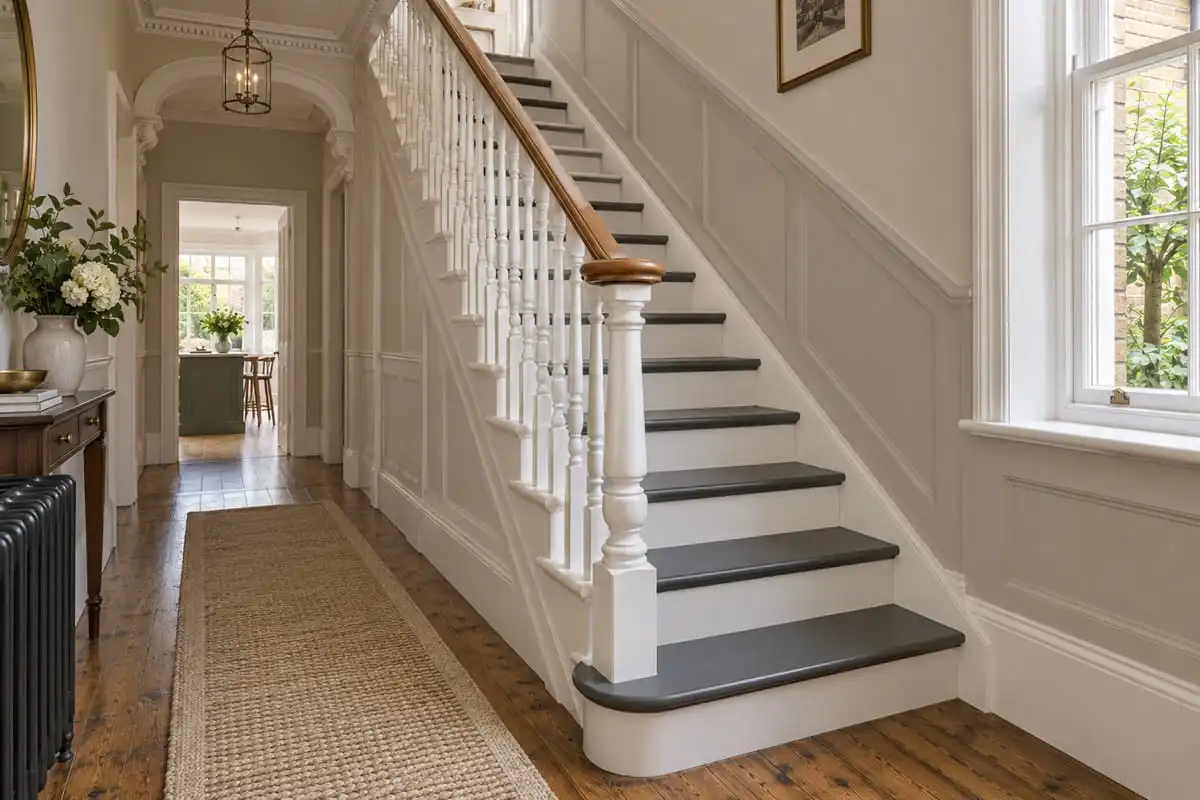
Painting your stairs is a practical way to refresh a tired hallway without replacing the entire staircase. Whether you want crisp white risers, a contemporary two-tone finish or a traditional painted bannister, careful preparation makes a significant difference to the result.
If you’re wondering how to paint stairs, the basic process involves cleaning the surface, repairing imperfections, preparing existing finishes, applying suitable primer where needed and painting with a durable coating. You’ll also need to plan safe access while the paint dries. Here’s how to approach the project, including stairwell walls and hard-to-reach areas.
1. Can You Paint Your Existing Stairs?
Many wooden staircases can be painted, including previously painted, varnished and bare timber stairs.
However, inspect the staircase before starting. Loose treads, damaged timber, movement or persistent squeaking may need attention before decorating.
Check whether your stairs have:
- Bare wood: May require a suitable primer before painting.
- Existing paint: Needs cleaning and assessment for peeling or poor adhesion.
- Varnished timber: May require additional preparation and an appropriate adhesion primer.
- Carpet: Must be protected carefully if you’re painting exposed parts without removing it.
If your staircase is structurally sound, painting can be a manageable DIY project.
2. What You’ll Need to Paint Stairs
Gather your equipment before beginning so you can work efficiently.
| Tool or Material | Purpose |
|---|---|
| Suitable floor or stair paint | Provides a finish intended for foot traffic |
| Compatible primer | Helps prepare surfaces where required |
| Paintbrushes and small roller | Apply paint to edges and larger areas |
| Sugar soap or suitable cleaner | Removes accumulated dirt and grease |
| Wood filler | Repairs minor surface imperfections |
| Appropriate abrasive materials | Prepare suitable surfaces when safe |
| Decorator’s tape | Protects adjoining surfaces |
| Protective coverings | Shields flooring and surrounding areas |
Wear suitable protective equipment and ventilate the area according to the product instructions.
Important: Older paint may contain lead. If you suspect lead-based coatings, avoid dry sanding or other dust-producing removal methods until you’ve obtained appropriate advice. GOV.UK provides information about lead exposure risks.
3. What Is the Best Paint for Stairs?
The best paint depends on which part of the staircase you’re decorating.
Stair treads: Choose a coating specifically suitable for interior wooden floors or stairs. Because these surfaces receive regular foot traffic, consider durability, adhesion and slip resistance.
Risers: These vertical surfaces experience less direct wear, so a compatible durable woodwork paint may be suitable.
Bannisters and spindles: Select paint intended for interior woodwork that can withstand regular handling and cleaning.
Stairwell walls: Use an appropriate interior wall emulsion rather than floor paint.
Matte, satin and gloss finishes create different appearances, but sheen alone does not establish whether a coating is safe for stair treads.
Check the manufacturer’s instructions for preparation, primer compatibility, application, slip characteristics and curing time.
4. How to Paint Wooden Stairs Step by Step
Step 1: Clean and Inspect the Surface
Remove dust, loose debris and grease using a suitable cleaner. Pay particular attention to tread edges, corners and areas near the handrail.
Rinse if required and let the surface dry.
Inspect for cracks, damaged paint and small imperfections. Repair minor surface defects with an appropriate filler, following its instructions.
Step 2: Prepare and Prime Where Required
Surface preparation helps the new coating adhere properly.
Where safe and appropriate, lightly abrade sound existing finishes according to the paint manufacturer’s instructions. Remove preparation dust thoroughly.
Apply a suitable primer if required, particularly on bare wood, difficult existing coatings or surfaces where the manufacturer specifies one.
Allow the primer to dry as directed.
Step 3: Paint the Treads and Risers
Begin by carefully painting edges, corners and detailed areas with a brush.
Use a suitable small roller or brush for larger surfaces, applying thin, even coats.
Work methodically and avoid allowing paint to accumulate in corners.
If painting alternating steps to maintain household access, remember that this approach is only practical when the manufacturer’s drying instructions and the household’s circumstances allow safe use. Never rely on freshly painted or inadequately cured treads for access.
Apply additional coats according to the product instructions.
Step 4: Allow the Paint to Dry and Cure
Do not assume that touch-dry paint is ready for foot traffic.
Drying describes the paint becoming dry to the touch, while curing refers to the coating developing its intended performance over time.
Check the manufacturer’s instructions for:
- Recoating intervals.
- Initial foot-traffic restrictions.
- Full curing requirements.
- Cleaning and maintenance.
Arrange another safe route between floors where possible. If no alternative exists, plan the work around household access rather than rushing the drying process.
5. How to Paint Stair Spindles and Bannisters
Bannisters and spindles require more detailed brushwork than stair treads.
Start by protecting nearby walls, flooring and stair surfaces.
Clean handrails thoroughly to remove grease and marks from regular handling.
Inspect the existing finish, repair minor damage and prepare the surface using a method suitable for the coating and age of the paintwork.
Use an appropriate primer where required.
For detailed spindles, a small brush offers greater control. Apply thin coats, following the shape of the woodwork and avoiding excess paint around joints.
Let each coat dry properly before proceeding.
Valspar’s guide to painting stair spindles and bannisters provides additional manufacturer guidance on cleaning, preparation and application.
6. How to Paint a High Stairwell Safely
Painting stairwell walls presents a different challenge from painting wooden steps.
The walls and ceiling above a staircase may extend well beyond normal reach, while the stairs themselves provide an uneven surface for ordinary access equipment.
Use Extension Tools Where Practical
A telescopic roller pole can help you paint higher wall sections while working from a safe, stable position.
Compatible brush holders or edging tools may also help with some corners, although results depend on the layout and your control of the tool.
Practise using an extension tool on an accessible surface before attempting difficult areas.
Avoid Unsafe Ladder Arrangements
Do not balance ordinary ladders on stair treads, improvise supports using timber or position unsecured boards between ladders.
The Health and Safety Executive’s work-at-height guidance emphasises appropriate equipment, stable working positions and avoiding unnecessary work at height. Its statutory duties concern work activities, but the underlying safety principles are also useful for household DIY.
For areas that cannot safely be reached from the floor, consider a professionally specified staircase access platform or hiring a competent decorator.
If you’re uncomfortable with heights or cannot establish safe access, do not attempt the high sections yourself.
7. Common Stair Painting Mistakes to Avoid
Several mistakes can affect appearance, durability or safety.
- Skipping preparation: Dirt and poorly adhered existing coatings can interfere with the new finish.
- Using ordinary wall paint on treads: Choose paint intended for the surface and expected wear.
- Applying excessively thick coats: Heavy application can leave uneven areas and extend drying times.
- Walking on paint too soon: Premature traffic can damage the coating and create a slipping hazard.
- Ignoring older paint hazards: Disturbing suspected lead-containing coatings requires special precautions.
- Using unstable access equipment: High stairwell decoration must be planned around safe working conditions.
For further interior inspiration, see our guide to stylish ways to transform your space.
Frequently Asked Questions
Can you paint stairs without sanding?
Sometimes. Certain coating systems allow painting over properly cleaned and sound existing finishes with suitable preparation or primers. Always follow the specific product instructions, particularly when dealing with varnished surfaces or potentially hazardous old paint.
What paint is best for wooden stair treads?
Choose an interior floor or stair coating approved for timber and regular foot traffic. Check its suitability, durability and slip-resistance information before purchasing.
How long should you wait before walking on painted stairs?
It depends on the paint, conditions and application. Follow the manufacturer’s stated foot-traffic and curing times rather than relying on a universal number of hours.
Can you paint stairs without removing the carpet?
You can paint exposed woodwork while leaving carpet in place, provided it is securely protected. However, painting the covered treads themselves requires access to the underlying surface.
How do you paint high stairwell walls without a ladder?
Extension rollers and compatible edging tools may allow some work from a stable position. If areas remain unreachable, use appropriately selected professional access equipment or employ a competent decorator.
Conclusion
Painting stairs can refresh your hallway without major renovation work. The key is to prepare the existing surface carefully, select coatings suited to each part of the staircase and allow sufficient drying and curing time.
For high stairwell walls, put safety before convenience. With the right approach, a well-planned staircase makeover can produce an attractive, durable finish while avoiding unnecessary risks.